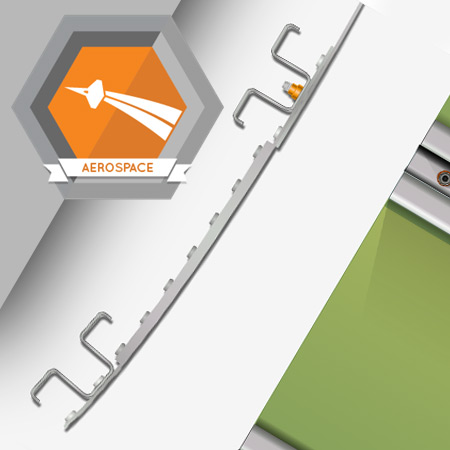
Preparation of the assembly includes gathering supplies, tools and setting up the project on the assembly jig.
Estimated completion time (hours): 1.1
Objectives
By the end of this course, you will be able to do the following:
- Know where to find the supplies and tools you’ll need to create this assembly
- Describe an assembly jig
- Understand the function of an assembly jig
- Set up the fuselage skin assembly project on the jig
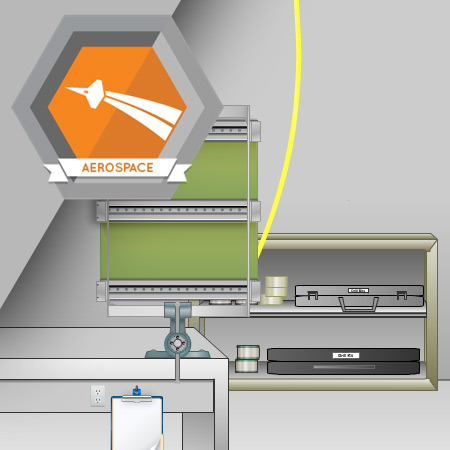
Before you can install fasteners, you’ll need to mark the locations of pilot holes, drill the pilot holes, and then enlarge them to full size.
Estimated completion time (hours): 1.1
Objectives
By the end of this course, you will be able to do the following:
- Set up your drill motor to drill pilot holes
- Drill the holes in the skin panels
- Set up your drill motor to drill full size holes
- Enlarge the holes in the skin panels
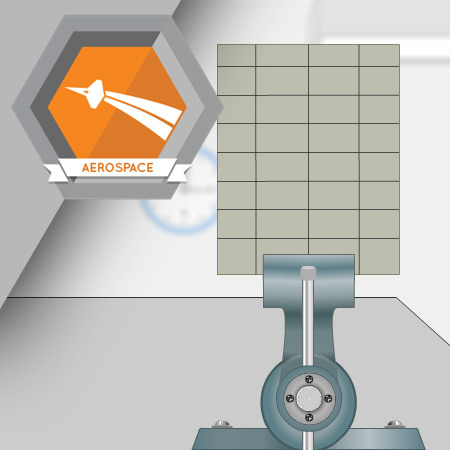
Doublers are used to increase the strength of the fuselage assembly.
Estimated completion time (hours): 1.0
Objectives
By the end of this course, you will be able to do the following:
- Drill pilot holes in the doubler
- Locate the doubler on the skin panel
- Enlarge the holes in the doubler to accommodate the fasteners
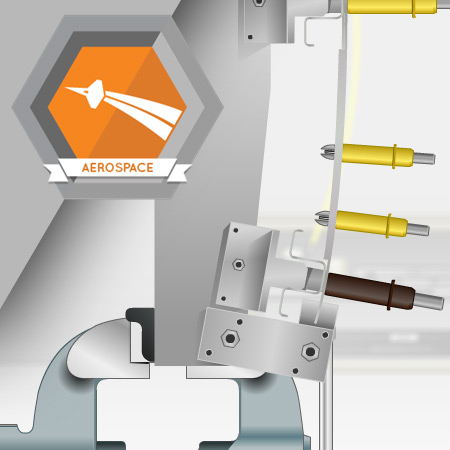
Countersinking is required before installing flush head rivets into the fuselage assembly.
Estimated completion time (hours): 0.8
Objectives
By the end of this course, you will be able to do the following:
- Countersink holes in the fuselage skin assembly
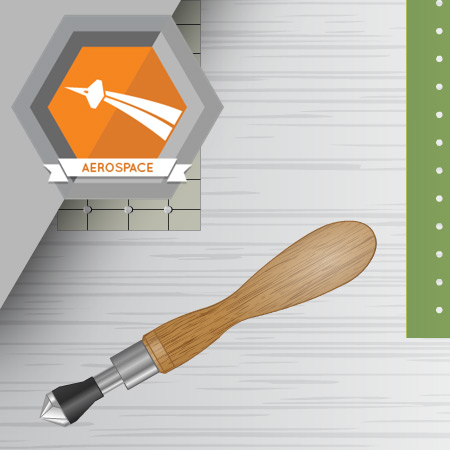
The final assembly steps include drilling some additional holes and installing fasteners in the assembly.
Estimated completion time (hours): 1.1
Objectives
By the end of this course, you will be able to do the following:
- Drill the final holes in the assembly
- Remove the assembly from the jig
- Take the assembly apart
- Deburr the holes in the assembly
- Clean the assembly
- Rebuild the assembly and return it to the assembly jig
- Install Hi-Loks in the assembly
- Install flush head rivets in the assembly
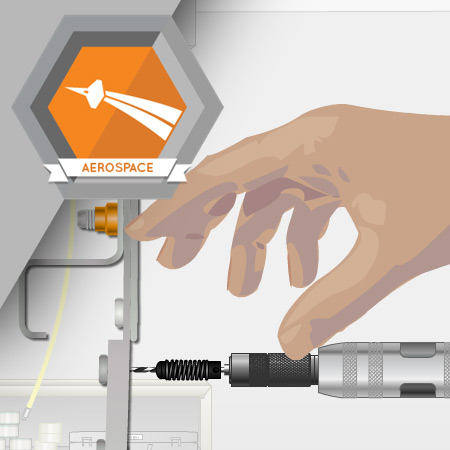
Tools and techniques different from those used to install rivets are used to remove them.
Estimated completion time (hours): 0.8
Objectives
By the end of this course, you will be able to do the following:
- Mark the manufactured head of an installed rivet with a drill bit
- Use a drill motor and drill bit to remove the manufactured head of an installed rivet
- Use a pin punch and ball peen hammer to remove the shank of an installed rivet
