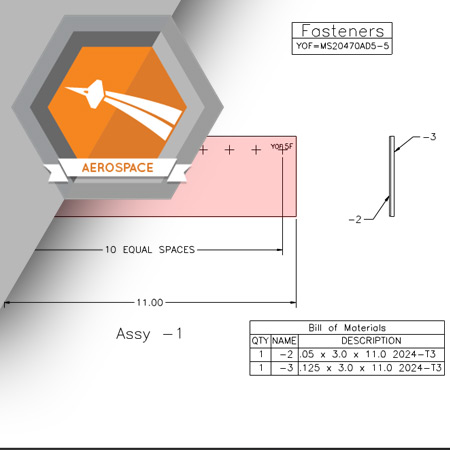
Before holes are drilled in an assembly, their locations must be marked.
Estimated completion time (hours): 0.9
By the end of this course, you will be able to do the following:
- Recognize fastener location and identification information on an engineering drawing
- Explain where to find the tools, fasteners, and other supplies needed to create an assembly
- Prepare the surface of an assembly for mark up
- Properly measure and mark corner fastener locations
- Calculate fastener locations using information given on the engineering drawing
- Mark fastener locations using the calculated fastener location information
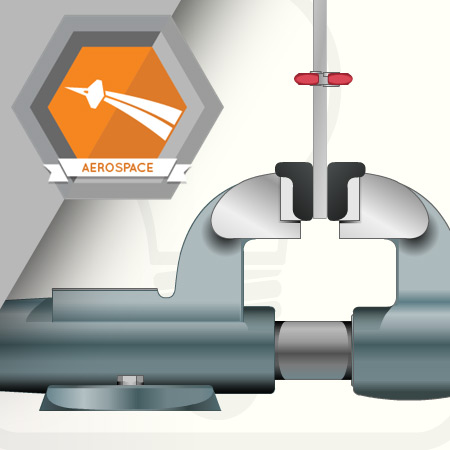
Drilling a quality hole starts with properly aligning the pieces in the assembly and correctly installing a drill bit in the drill motor.
Estimated completion time (hours): 0.7
By the end of this course, you will be able to do the following:
- Prepare the assembly and drill motor
- Properly stack and align the pieces used in this assembly
- Install a pilot bit in a drill motor
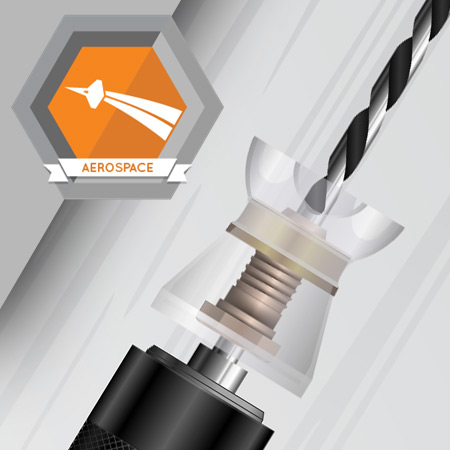
Pilot holes are typically the first holes drilled in any assembly. They are usually too small to accommodate the shank of any standard fastener, so they must be enlarged before fasteners can be installed in the assembly.
Estimated completion time (hours): 1.1
By the end of this course, you will be able to do the following:
- Create a drill start with a drill motor and pilot bit
- Drill a pilot hole
- Exchange a pilot bit for a larger drill bit
- Set a drill stop
- Enlarge a hole to size
- Inspect a full size hole using a Go/NoGo pin gauge
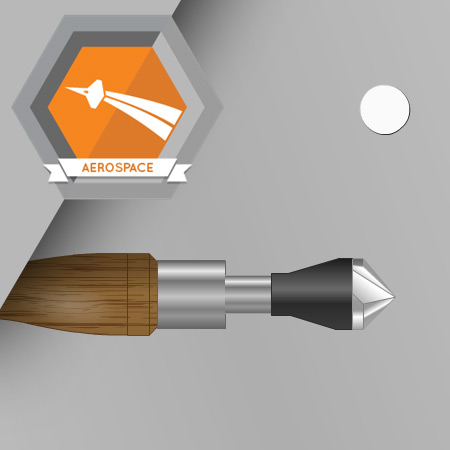
Burrs are raised material left around the edge of a drilled hole. This excess material must be removed, or it may interfere with fastener installation. The process of removing this material is called deburring.
Estimated completion time (hours): 0.9
By the end of this course, you will be able to do the following:
- Use an open countersink to deburr holes
- Use a flat file to deburr holes
This course is a simulated student project that teaches how to install and inspect protruding head rivets in an aircraft assembly or structure.
Estimated completion time (hours): 1.1
By the end of this course, you will be able to do the following:
- Install a cup die into a rivet gun
- Use a rivet gun and bucking bar to install protruding head rivets
- Visually inspect the manufactured heads of rivets
- Inspect the manufactured heads of driven rivets using a gap inspection shim
- Inspect the driven heads of rivets using a spoon gauge
- Inspect the driven heads of rivets using an H-gauge
